Tuning tips
Additional settings and features in DBConvert Studio that help a data migration run smoothly. For the basic step-by-step walkthrough, see the DBConvert Studio product page.
These tips apply to DBConvert Studio. The classic DBConvert and DBSync pair tools use a different interface - for example, what Studio calls a job is a session there - so the buttons and options below may look or behave differently.
1. Duplicating saved jobs
Use Duplicate to create an editable copy of a saved job. The copy retains the source and destination, selected objects, mappings, and options, so you can use an established configuration as the starting point for another run.
Review the copied endpoints and configuration before running it. Change any connection, object selection, mapping, or option that should differ from the original job.
2. Trigger-based sync options
When you use trigger-based sync, two extra options control how triggers are created and maintained. For the full workflow, see trigger-based synchronization.

Track only source
Check Track only source when you need triggers on the source side only. Use it when the data in the destination database does not change from the outside. If you load an existing session where triggers were created on both sides, check this option to delete the triggers in the destination database.
Update sync triggers
Tick Update sync triggers to update the triggers on the source and destination automatically. Use this option when:
- the triggers' logic has changed;
- you need to re-configure already created triggers - for example, the time has changed on a synchronized side, or the job now uses a different database on the destination side.
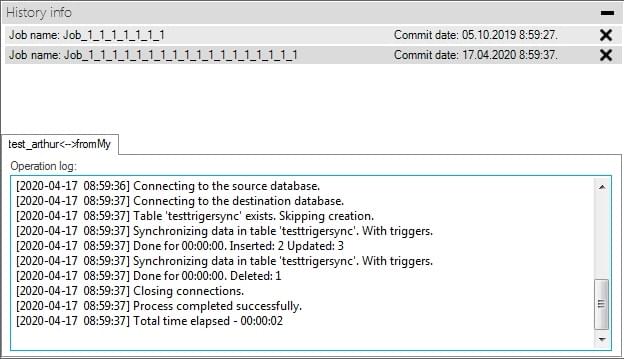
3. Monitoring synchronization processes
DBConvert Studio can monitor the synchronization process between two systems. The number of records added, updated, or deleted is recorded in the operation log.
4. Truncate table
Click Tables in the tree-view, or a specific table, to find the Truncate table option. Use it when you need to delete all records in the destination table or tables.
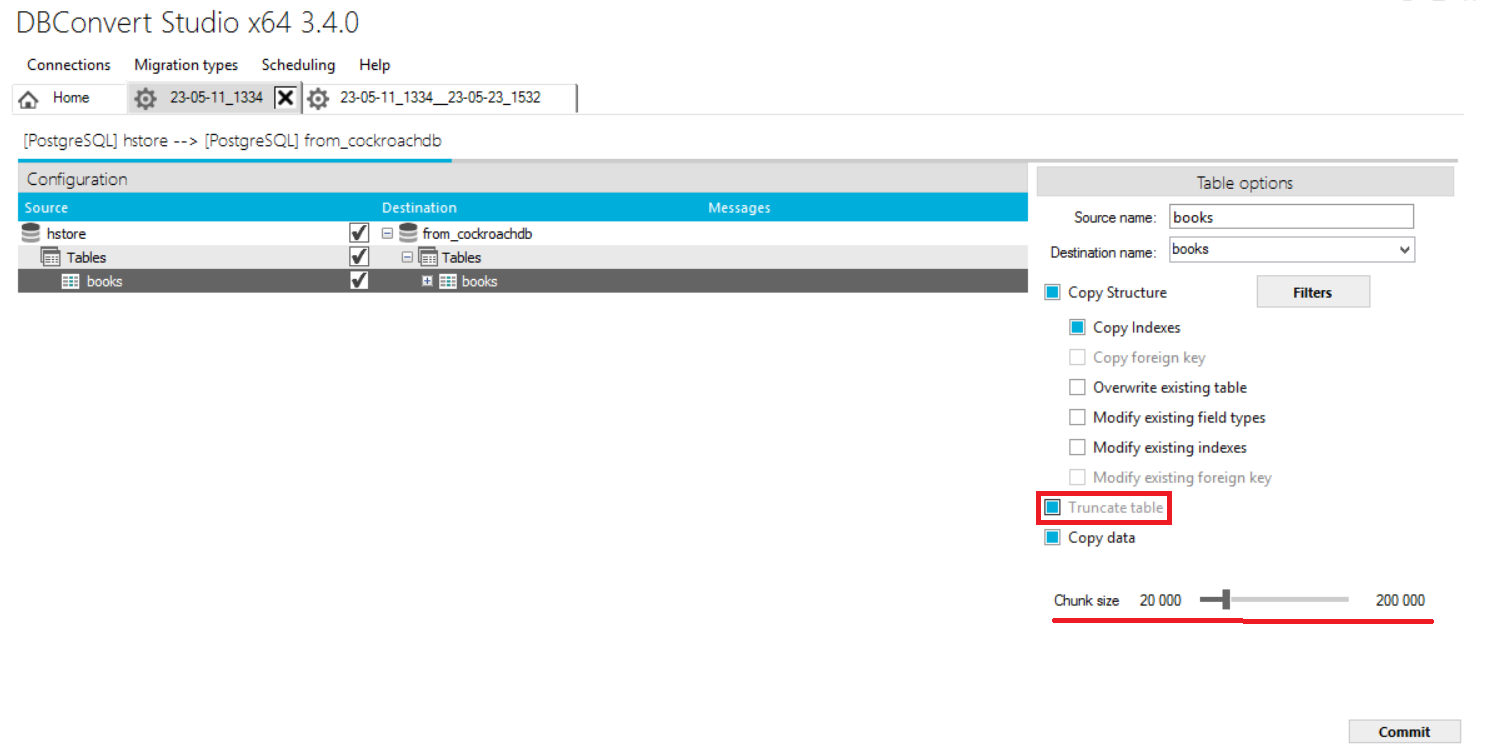
For the Chunk size option shown here, see database and table options.
5. Jobs and connections recovery
If a crash occurs and jobs or connections are damaged - for example, something happened to the settings file - they are restored automatically on the next start. When you notice that jobs or connections are damaged, close the program and reopen it.